Friday, 18 July 2014

How to make portable apps with Cameyo

Making portable applications is the necessity for any computer user who works on different systems for the same work. Every time when he/she wants to change the stored information in that application he/she needs to copy all the files from one system to another. But, if you don’t want to do like this every time then you may create portable apps by which you are able to run the applications from any USB stick without installing the actual application.
Cameyo official

All the information stored in that application will be also available and changes made in the portable application also changed the information in the main application. So, you won’t need to manually change the information every time. For doing this you need a software program named Cameyo.

How to make portable apps in Windows?

Following steps will help you in creating portable apps.

*. Download Cameyo from their official website here.

*. After installation you will proceed towards the Windows as shown in the screenshot below.

start cameyo

*. Now you need to select Capture an installation and then press OK.

*. Cameyo now start capturing initial screenshot of your system. See below fig.

Initial screenshot

*. It will take some time to complete initial snapshot so keep patience. Then you need to install application which you want to make portable after seeing following window and then click on Install done after installation.

install done

*. Now it will take post installation screenshot and after finishing you will be presented with following window.

Package created

*. Now your job is done you can find out the stored portable app in 
the following directory C:\Users\<your username>\Documents\Cameyo apps


Enjoy creating portable apps with Cameyo and keep visiting for updates.

Monday, 14 July 2014

Make your Windows Transparent

You may not thought about this before reading this post. If its right then this will surely help you to know about yet another trick for your Windows.

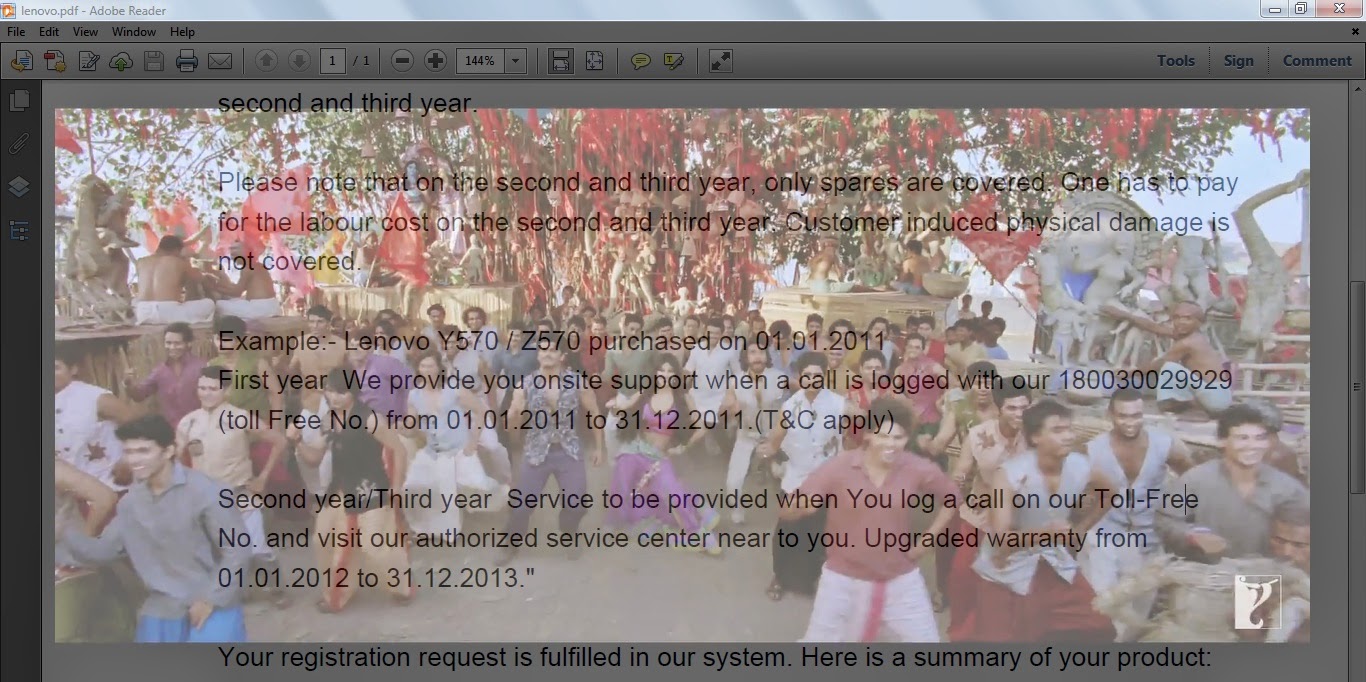
transparent Windows

Making Windows transparent simply means you can see through your active Window. Suppose you are working on MS Word then you may also see your Desktop without closing it. It may help you whenever you want to work on different Windows at a time. Just Imagine you are very excited to watch a new movie from your computer and you have an important project which you have to complete at the same time, then this post for you to solve the issue.

How to make Transparent Windows ?

You need a small tool named PeekThrough to do this. Follow the steps given below to make it easy for you to make your Windows transparent.

*. First of all download PeekThrough from here.

*. Click on the file install.exe and install it on your system.

*. After installation you will see an icon in your system tray as seen in the image below.

peekthrough icon

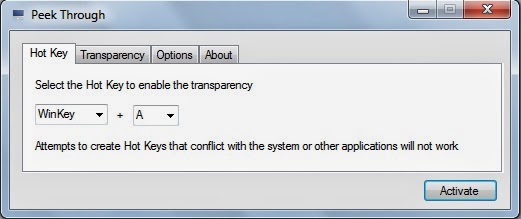
*. Now you just need to click on that icon and then click on Activate to activate PeekThrough, after which you may able to make your Windows Transparent with the shortcut Win + A. You can also change the shortcut key. 

peekthrough select

*. To set transparency level just click on the Transparency tab.

*. You have options under Option tab for start PeekThrough on startup and also you can check an option Allow click through of transparent window if you want to click on other Windows other than your working Window after making it transparent.

*. Now whenever you need to make any of the Windows transparent just press Win + A and the same key can be used to make Windows normal.

It’s easy…Smile simple tricks can make your life easy. Keep following for further more tricks.

Saturday, 12 July 2014

How to change folder background in Windows 7

Many of the times if you want to add images as a background in windows explorer then you do this with the help of the small tool named Windows 7 background changer. You can change the background as you want with different images.

How to change folder background

Following simple steps will help you in changing the background.

*. Download Windows 7 background changer from here.

*. For changing the background run the file W7FBC.exe

*. Now click on Browse to select the folder for which you want to change the background.
*. After selecting folder you need to add image for that just click on Change Background Image and select the image.

folder location

*. You can also change the text color of the folder name from Text Color.

 For removing the background follow the same procedure, just select the folder location and click on the Remove Background Image.

folder background image

That’s it, it’s very easy isn’t it! Just change background of folders and enjoy with the posts.

Thursday, 10 July 2014

Convert folders into Virtual Drives


drives

You may have different drives on your computer. But do you know you can access any folders as a drive ? Yes it is possible. You can create virtual drives and able to access them from My Computer without any partition process.

How to access folder as a drive

For creating your own drives of folders. You need to follow some simple steps as follows

*. Open Command Prompt from start menu or directly by pressing Win+R and typing cmd.

*. Type subst F: D:\Files\folder and hit Enter.

folder convert command

*. You can replace F: with your desired drive letter.

*. You can replace D:\Files\folder with the path of the folder for which you want to create drive.

Now you can see on My Computer that another drive with drive letter H: is created. But it is temporary because when you restart your system then this drive will be disappeared.

If you want to create a permanent drive without partition for particular folder then you can do this by following process.

*. Open Notepad and type the code

         @echo off
                subst F: D:\Files\folder
         exit

*. Save this file with .bat extension and paste it to the Startup folder of your system which is located at C:\ProgramData\Microsoft\Windows\Start Menu\Programs\Startup.

It is actually hidden by default you may change your system settings to Show the hidden files and folders from folder and search option in the view tab.

Now, just Restart your computer and you are done. Enjoy with this tutorial.

Popular Posts